Creating a simple webpart
In this guide I will walk you through the development of a very simple web part, we will delve into the details but not get too deep where we lose our minds, lets get to work!

In this post I am going to walk you through creating a simple webpart for SharePoint Online. This webpart that we will be creating will calculate sales tax of an item, not super exctiting but it is an easy first intro into setting up a webpart and getting an overview of React in SharePoint webparts.
If you don't have your development environment setup yet no worries just open the link below in a new tab and follow the steps in that guide and you will be ready to rock in no time. If you are all set lets get the show on the road!
1. Scaffold the WebPart
Open your console window of choice - I will be using Hyper, and enter the commands below.
Create your project directory and change your consoles location to that directory.
mkdir tax-webpart
cd tax-webpart
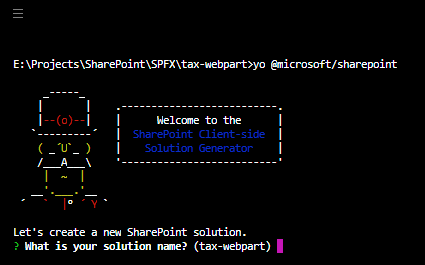
Enter yo @microsoft/sharepoint to start the yeoman generator.

Respond to prompts like below
- Enter for the first prompt.
- SharePoint Online Only.
- Use the current folder.
- N
- N
- WebPart
- Enter 'Tax' as the name for your webpart.
- Enter to accept the default description.
- React Framework.
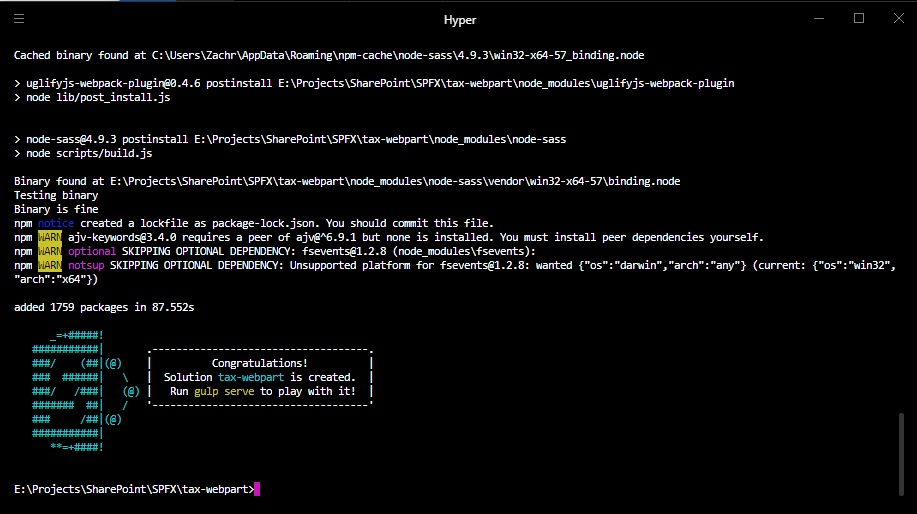
The yeoman generator will begin structure your project, this can take a few minutes depending on your internet connection.
When finished you will see the below result in your console window.

Enter the following command if you have VS Code installed to open your project in VS Code.
Code .
Also while in your console run the following command gulp serve to start a local instance of your webpart where you can test and preview your development. Your default browser will open to the webpage.
*NOTE you will need to run gulp trust-dev-cert before running gulp serve. This only needs to be done one time.
After your browser has launched with the SharePoint Workbench you can add the WebPart we initalized like below!

This is the default webpart that is created every time you start a new webpart. It has one property attached to it where you can edit the webparts description. You can do this by clicking on the 🖊 next to the webpart to open the property pane. The property pane is where you can setup your webpart settings and allow your users to change the settings of a webpart with out changing the code. If you edit the text inside the 'description' field it will update as you type!

Its not much right now but lets dig a litter deeper and get this web part to calculate some sales tax for us....woot!
2. Lets Code!
Ok the moment we've all been waiting for lets get our hand's dirty and start to code this webpart. Open your code editor and open the file below.
src/webparts/TaxWebPart.ts
First lets get rid of the 'description' field and add a field for the WebParts title and a field to set the percent for the sales tax.
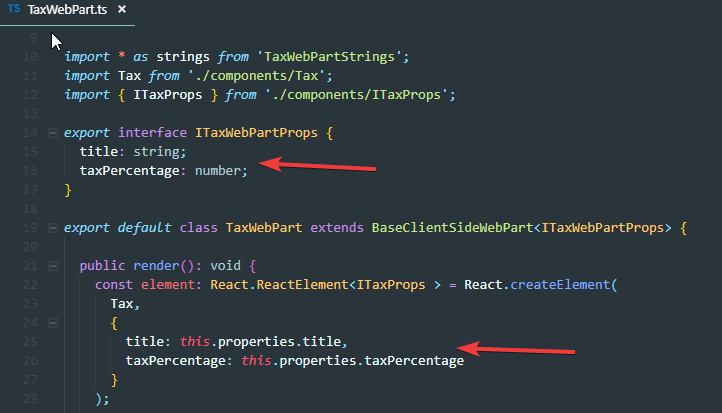
At the top of this file you will do the following changes replacing descrdescription: string; and description: this.properties.description

In the top section of this edit we are creating an interface for this webpart and declaring the type of these properties, since webparts are created using TypeScript (Check it out here!) the types must be declared.
We also need to remove the description reference in src/webparts/components/ITaxProps.ts and add in the title and taxPercentage property.

Finally we need to update the TaxWebPart.manifest.json file located in src/weparts/

Yes that is right you will need to update 3 locations when adding a new property to your webpart, it might seem like a lot but you will likely only add properties a few times during the development of your project.
Ok so lets add these properties to the property pane. Back to src/webparts/TaxWebPart.ts and the bottom of the file make the below changes.

Ok so we now have our property fields setup but before we can go ahead and view them in the workbench lets make the following updates to our webpart.
src/webparts/components/Tax.tsx

Now if you go to the workbench you will see the following. You can also open the property pane and enter text into the fields and see them update on the webpart.

Neat! Ok lets do some math....yay!
Lets add the following code to our Tax.tsx file.


After making the above changes you have now made a webpart that can calculate the total and sales tax of an item! So cool 😝!!
Next steps would be styling this webpart and making it even more reactive where a user wouldn't have to click on the calculate button for the math to run. Lets tackle that in a part 2!
Download the finished code from GitHub https://github.com/zachroberts8668/SPODev-tax-webpart